USS Pavlic - APD-70 A History |
Disarming the Tokyo Bay Forts
Ashore in Occupied Japan
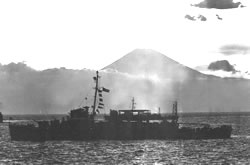
| I never was ashore at Fort #2 and never had any first-hand descriptions of the various elements of the fort. There were no descriptive notes with the photo negatives. However the following pictures, I think, are interesting. Disabling the guns was the primary purpose of our landing party. | |
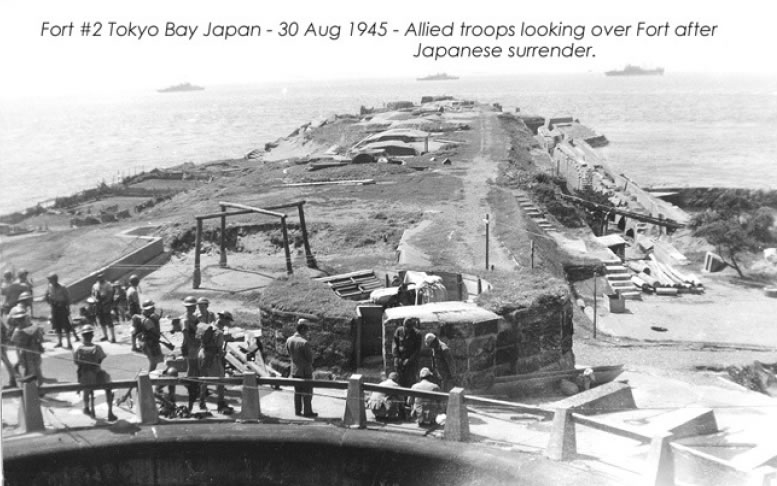 Allied troops looking over
Fort #2 after |
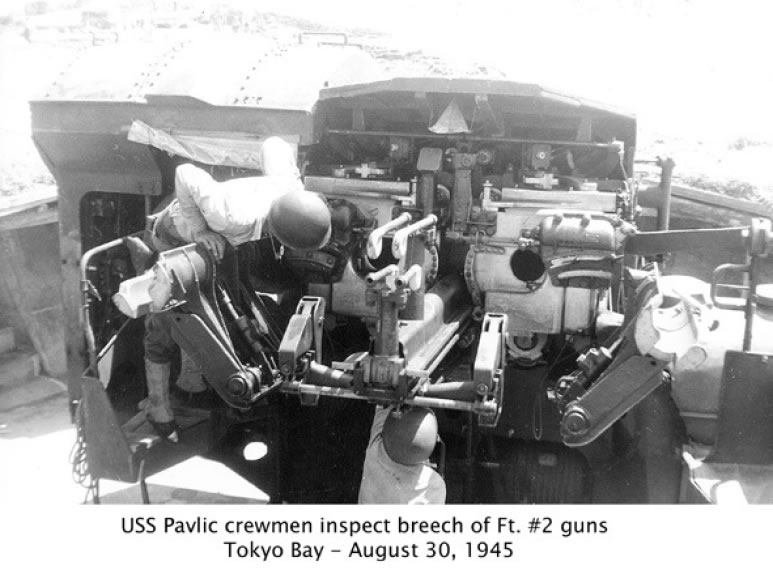 USS Pavlic crewmen inspect breech of |
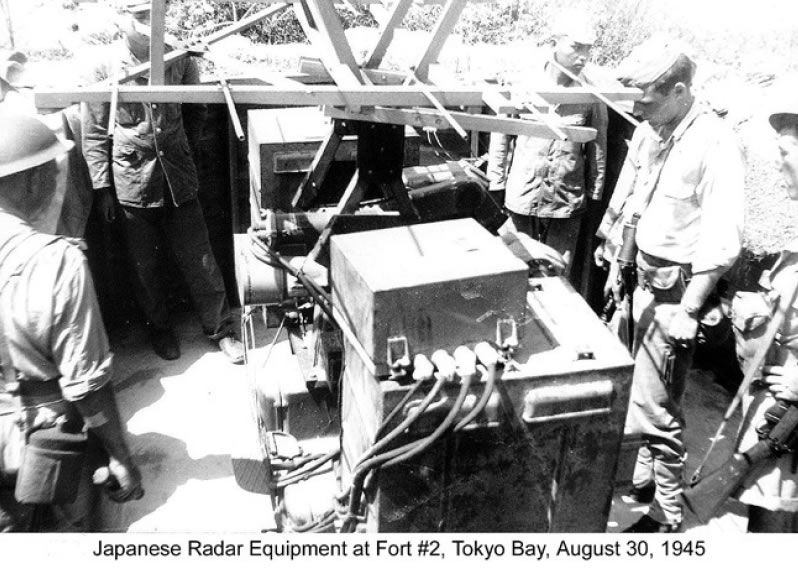 Japanese radar equipment at Fort #2 |
I always assumed Japanese radar was inferior to ours, but I really don’t know how good it was, or how this particular one was used. |
| The Japanese apparently had radar-controlled searchlights to track our planes coming over at night and illuminate them for the anti-aircraft gun crews. | 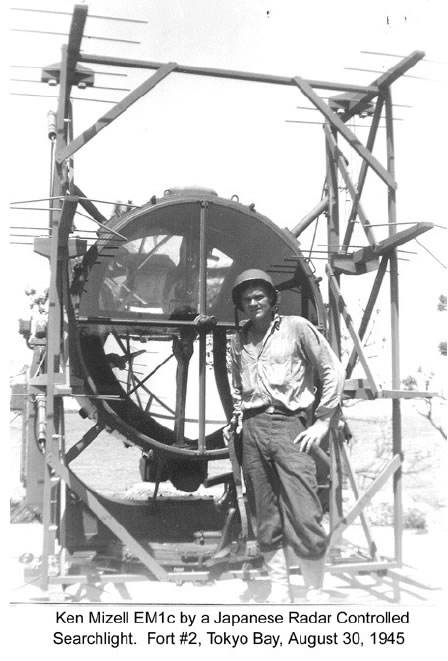 Ken Mizell EM1c by a Japanese radar |
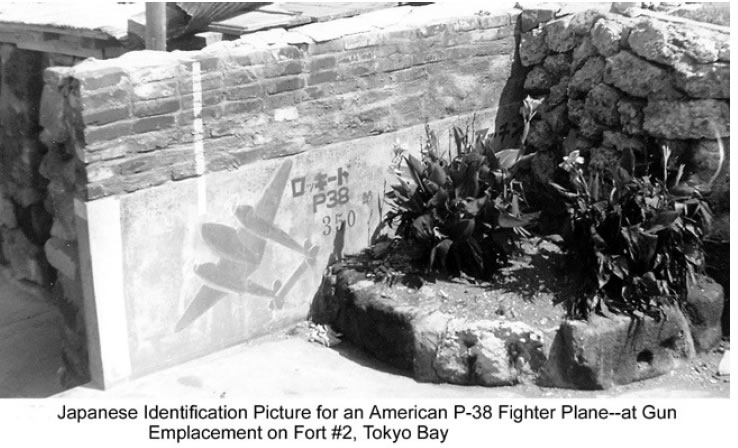 Japanese identification picture for |
There were various pictures of our planes on the walls to help their men identify our aircraft raids. |
| After returning all the Brits and the Japanese prisoners to the Pavlic, we got underway to Yokosuka Naval Base where we moored and transferred the British troops and Japanese prisoners to Asuma Shima, an island in Yokosuka harbor. | 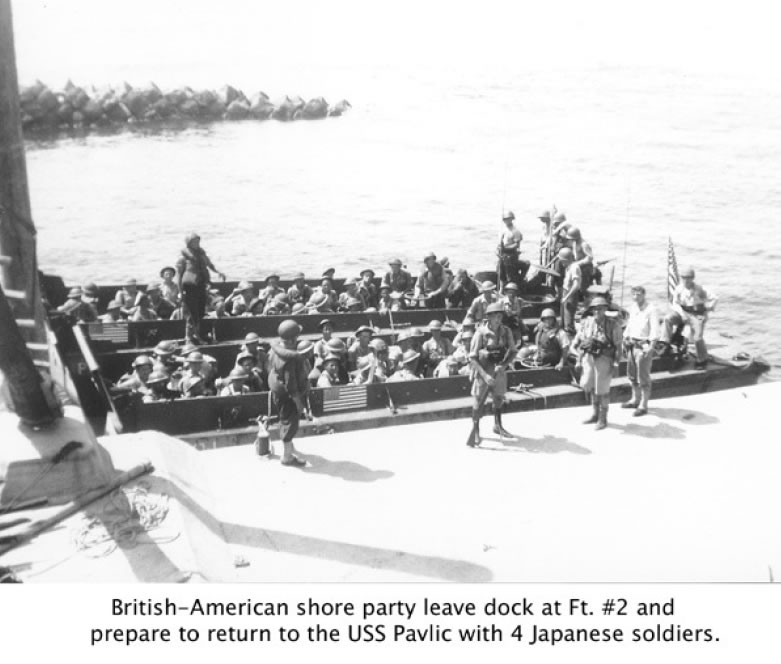 British-American shore party leave |
![]() USS Pavlic - APD-70
USS Pavlic - APD-70